This assembly guide will walk you through the process of creating this mini-album with the use of Flip Flaps. Add 22+ of your fondest Disney Memories inside this mini-album.
This guide includes a Design Space file, photos, cutting diagrams, supply list, helpful tips plus a complete process video.


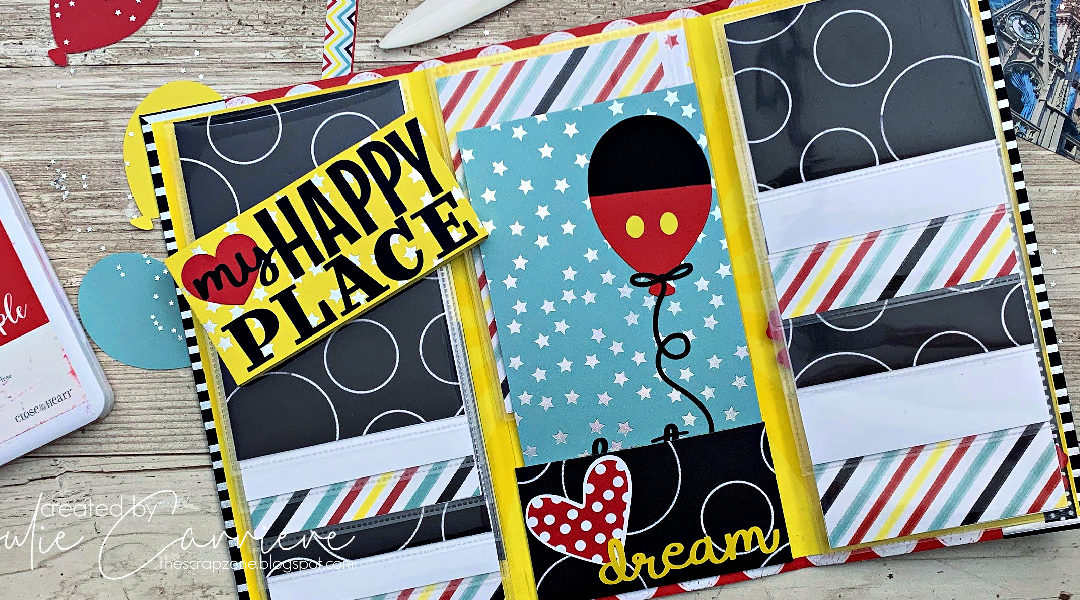
SUPPLIES
- CC7202 Pattern Paper for Cricut Option
- CC7201 pattern Paper + Sticker sheet for none-Cricut option
- CC7204 happiest place acrylic shapes for none-Cricut option
- CC7207 Happiest Place Art Titles, Digital Library/SVG
- CC72010 Happiest Place Art Design, Digital Library/SVG
- CC7203 Happiest Place Coordinating Cardstock
- Z3231 4×6 Flip Flaps (6 vertical plus 2 horizontal)
- Z3230 3×4 Flip Flaps (6 horizontal)
To purchase the supplies to complete this project please visit my online store: JulieCarriere.closetomyheart.ca
To purchase the assembly instructions
What You Need to Know Before Purchasing this Guide
1. You will need a Cricut Design Space account to access the Design Space file to cut this project.
2. You will need all of the images used in this project. Some of the images have been sliced and welded to achieve the end result. Therefore images CANNOT simply be deleted. See the supply list for Cartridges used.
3. Once you receive the Design Space link, please save the project to your Design Space account. Cricut is constantly making up-dates that affects older links
4. When you place an order on my Online Store you’ll receive the assembly guide completely FREE.
5. The file will be sent via email to you shortly after you place your order. Please allow 12 hours, if this does not occur please email me.
6. The assembly guide includes: the cutting diagrams, helpful tips plus a complete process video, see link in the first photo.